Passport photo printing
How to print a 2x2 passport photo on 4x6 paper
Prepare a 2x2 photo layout on 4x6 paper, leave room for margins and check the finished print dimensions before using it.
Updated 5 minute read
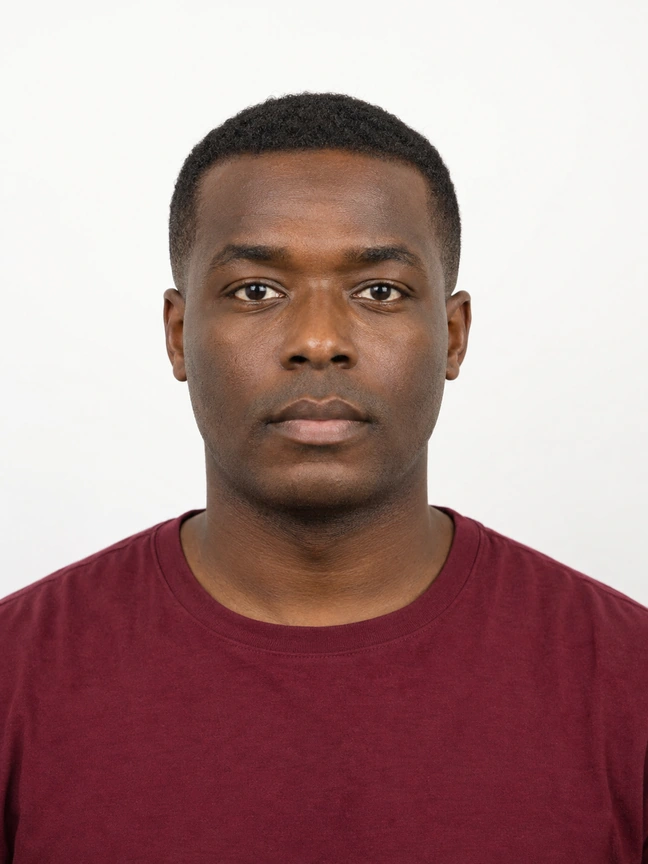
The short answer
The short answer
Choose a 4x6-inch print layout and use the copy count shown in the app. Margins and spacing reduce how many full-size photos fit. Print at 100% or Actual Size with cropping disabled, then measure a finished photo before cutting. The original photo must already meet the authority's image rules.
Key checks
- Use the app's 4x6 layout and its displayed copy count.
- Print at Actual Size or 100% scale.
- Disable Fit to Page and automatic cropping.
- Measure the printed square before cutting.
Step by step
Prepare the 2x2 photo
Start with a photo that meets the application rules before placing it on a print sheet.
Choose the multi-photo layout
Select the 4x6 paper layout and review the number of copies and spacing shown in the preview.
Save at full quality
Export the layout without taking a screenshot or sending it through an app that compresses images.
Print at 100% scale
Choose 4x6 paper, Actual Size or 100%, and turn off Fit to Page and border cropping.
Measure and cut
Confirm that one image is exactly 2x2 inches before cutting the photos apart.
Photo size and paper size are different
The 2x2 measurement describes each finished photo; 4x6 describes the paper. Six squares fit only if there are no margins or gaps. Passport Booth leaves space in its layouts, so use the copy count shown by the app rather than forcing six photos onto the sheet. Keep the photo dimensions fixed.
Passport Booth includes single-photo and multi-photo formats. Choose the country and document first, review the photo, then select the multi-photo layout. Saving the prepared sheet preserves the relationship between the image boxes and the paper size.
Protect the scale when printing
The most common printing error is automatic enlargement or shrinking. In the print dialog, select the 4x6 paper size and look for Actual Size, 100% or a similar setting. Turn off Fit to Page, Fill Page and borderless expansion if those options change the scale.
Photo kiosks and retail apps sometimes crop files to fill the paper. Review the preview carefully. If an outer edge of the layout disappears, the service may be enlarging the image. Choose an option that preserves the complete 4x6 file.
Use suitable paper and print quality
Follow the application instructions for paper finish and print quality. Use a clean print without visible pixels, colour casts, banding or ink marks. Do not resize a low-resolution screenshot because it may look sharp on a phone and still print poorly.
Let an inkjet print dry before stacking or cutting. Keep fingers away from the face area and use a ruler with a sharp cutter or scissors. Avoid rounded corners unless the application specifically permits them.
Measure before cutting the whole sheet
Use a ruler to check the outer edges of one photo. It should measure exactly 2 inches by 2 inches for a US passport application. If it does not, stop and correct the print settings instead of trimming the image to compensate.
Physical size is only one requirement. The head size, background, expression, recency and image integrity must also meet the current official rules. The US Department of State requires an original, unchanged photo, so a correctly sized print can still be rejected if the underlying image was altered.
Common questions
How many 2x2 photos fit on a 4x6 print?
Six fit mathematically without margins or spacing. An app or printer layout with margins holds fewer. Use the layout preview's copy count and measure the finished photos; never shrink them to fit more copies.
Can I print the sheet at a pharmacy or photo kiosk?
Yes, if the service preserves the complete file and prints at the correct scale. Inspect the preview for cropping and measure the finished photo before using it.
Official guidance
Requirements can change. Use the issuing authority’s current guidance as your final reference before submitting.