At-home capture guide
How to take a passport photo at home with an iPhone
Set up the light, background, camera and framing for a passport photo at home, then review it against the issuing authority's current rules.
Updated 6 minute read
The short answer
The short answer
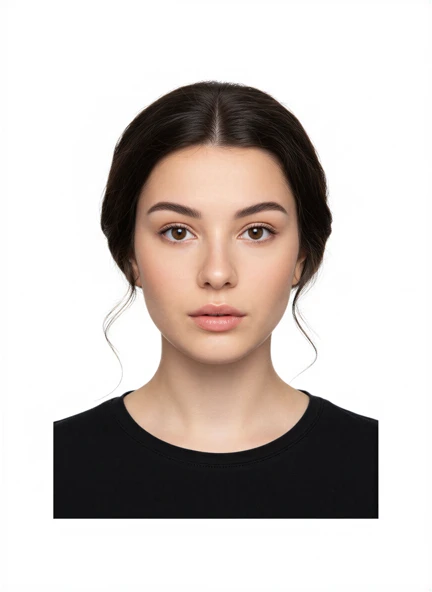
Use a rear camera or a stable front camera at eye level, face soft and even light, stand in front of a plain background, and leave enough space around the head and shoulders for cropping. Avoid Portrait mode, filters and retouching. Select the exact country and document before you export, then compare the photo with the official rules.
Key checks
- Use even light from in front of the face.
- Keep the camera level with the eyes and far enough away to avoid distortion.
- Turn off filters, Portrait mode and beauty effects.
- Check the issuing authority's current rules before submitting.
Step by step
Choose the country and document
Start with the exact passport, visa or ID route because photo sizes and background rules differ.
Prepare the background and light
Use a plain background and soft, even light with no strong shadow behind the head.
Place the iPhone at eye level
Keep the phone steady, avoid a wide-angle close-up and look directly at the lens.
Capture and review
Check sharpness, expression, head position, lighting and background before selecting a result.
Export the required layout
Save the digital file or print layout that matches the application instructions.
Set up the room before the camera
The easiest place to improve a passport photo is the room, not the edit. Stand a short distance in front of a plain wall so the light does not cast a hard outline around the head. Face a large window or another broad light source. If one side of the face is darker, move until the light is balanced rather than trying to repair it later.
Remove objects, picture frames and visible corners from the background. Ask another person to check the wall around your shoulders and hair. A plain background that is correct at capture time is safer than relying on software, especially for authorities such as the US Department of State that do not allow digital alterations.
Use the iPhone camera without portrait effects
Place the iPhone at eye level and keep it upright. A tripod, shelf or helper makes the camera position more repeatable. Do not hold the lens very close to the face because a wide-angle perspective can exaggerate the nose and change the apparent proportions of the head.
Use the normal camera view with filters, Portrait mode and beauty settings switched off. Clean the lens, tap the face to set focus and check that hair and shoulders are sharp. The live face frame in Passport Booth can help with position, but the final authority rules still decide what is acceptable.
Expression, clothing and head position
Look directly at the camera with the head level. Keep both eyes visible and use the expression requested by the destination authority. Avoid hair across the eyes, glare from glasses and clothing that blends into the background.
Rules for glasses, uniforms, head coverings and medical accommodations vary. Do not infer those details from a generic template. Open the official guidance for the exact application and follow any exceptions or supporting-document instructions it gives.
Review before you pay or print
Zoom in and inspect the file for blur, compression, glare and accidental filters. Then inspect the full frame for head position, shoulder visibility and shadows. If anything is doubtful, take another photo while the room and camera are still set up.
Select the country and document in Passport Booth, review your original photo, and choose the available digital or print output. Before submission, compare the result with the issuing authority's latest size, age, background and file requirements. No app can guarantee acceptance.
Common questions
Should I use the front or rear iPhone camera?
The rear camera often gives a sharper result, but either camera can work if it is clean, steady, at eye level and free of filters. A helper or tripod makes the rear camera easier to use.
Can I use Portrait mode for a passport photo?
It is safer to turn Portrait mode off. Artificial blur and edge processing can alter the image, and some authorities require an original, unchanged photo.
Official guidance
Requirements can change. Use the issuing authority’s current guidance as your final reference before submitting.